
Flux Kontext Pro vs. Flux Kontext Max: Which Image API Fits Your Project?
Choosing an image-generation model is not just about getting the most detailed output. Cost per image, editing consistency, latency, and the way an API fits your existing workflow all matter. Flux.1 Kontext Pro and Flux.1 Kontext Max are two model options for generating and editing images with text instructions, but they target different priorities.
This guide compares their typical strengths, explains what to check before relying on published prices, and walks through API authentication and integration. The right choice depends on whether your application needs affordable, repeatable image work or is willing to spend more for demanding visual tasks.
What Are Flux Kontext Pro and Flux Kontext Max?
Flux Kontext models are designed for image generation and instruction-based image editing. They can help create a visual from a prompt or revise an existing image while preserving relevant context, such as a subject, composition, or style. This makes them useful for product imagery, marketing assets, concept art, and creative prototyping.
To access a model through software, an application sends a request to an API: a defined interface that lets programs exchange data. For a quick refresher, see What is API?. Model availability, endpoint names, request formats, and pricing depend on the provider; confirm the current details in the documentation for the service you plan to use.
Flux Kontext Pro vs. Max at a Glance
- Flux Kontext Pro: A practical starting point for everyday generation and editing, especially when cost, throughput, and dependable results matter.
- Flux Kontext Max: A higher-tier option to evaluate for complex instructions, demanding compositions, or tasks where detail and prompt adherence are especially important.
- Both: Model performance varies by prompt and input image. Test representative examples rather than assuming one model will always produce the better result.
When to Choose Pro
Pro is a sensible default for applications that generate many images, support rapid creative iteration, or produce routine branded assets. For example, an online store could use it to create draft campaign visuals or explore background variations before sending selected images for review.
Its value is not simply that it may cost less than Max. A model that meets your quality requirements with fewer retries can also reduce the real cost of a finished asset. Measure the number of attempts, processing time, and human review needed for your own prompts.
When to Choose Max
Consider Max when your workflow includes intricate scenes, strict instructions, or images that will be used in high-visibility placements. A design team might compare Max and Pro on a set of difficult compositions, then reserve Max for tasks where its output materially improves the result.
“Higher tier” does not guarantee a perfect image or eliminate editing. Check outputs for artifacts, incorrect details, and any mismatch with brand or accessibility requirements. Keep a human approval step for published creative work.
Compare Quality, Cost, and Workflow
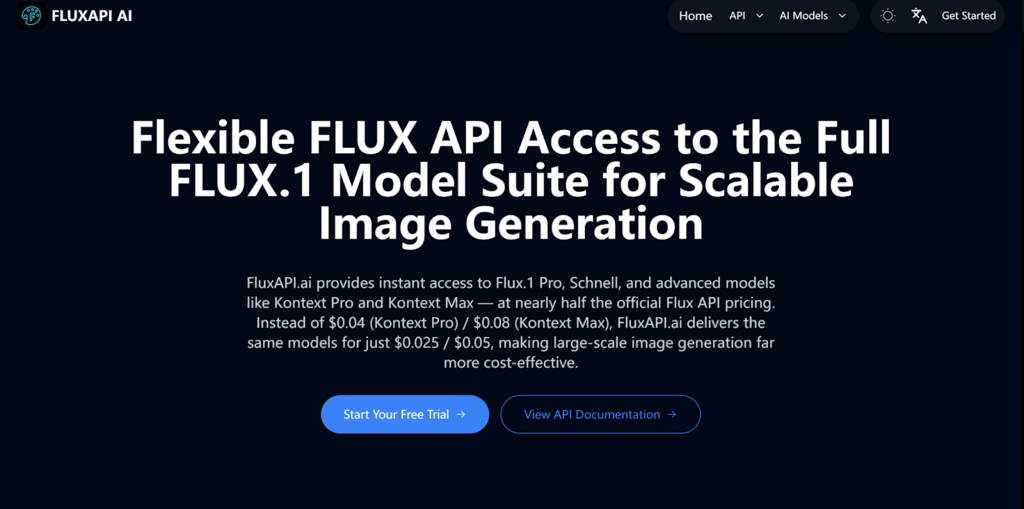
Pricing claims can become outdated or differ between providers, regions, plans, and billing units. The original version of this article listed FluxAPI.ai rates of $0.025 per Pro generation and $0.05 per Max generation, and compared them with higher figures for official access. Treat those numbers as historical figures, not a current quote. Check the provider’s live pricing page and confirm whether charges apply per image, request, output size, or another unit.
For budgeting, estimate the cost of an approved image rather than a single API call. If a campaign requires several generations and occasional edits, retries can significantly change the final cost. A small evaluation set will give you a more useful estimate than comparing headline prices alone.
A Practical Evaluation Checklist
- Choose 10–20 representative prompts, including simple and difficult examples.
- Use the same inputs, instructions, and output settings for both models.
- Score prompt adherence, visual quality, editing consistency, and failure rate.
- Record latency and the number of attempts needed to approve each result.
- Compare total cost per accepted image, then select a default model and an exception path.
API Integration and Authentication
The integration pattern is straightforward: create an account with your chosen API provider, obtain credentials, select the model’s documented endpoint, and send a request using the provider’s required format. Authentication is commonly handled with an API key, but the exact header, endpoint, parameters, and response format are provider-specific.
1. Create and Protect an API Key
Generate a key in the provider’s dashboard and store it in a server-side environment variable or secret manager. Do not place a live key in browser code, a public repository, or client-side application settings. Anyone who obtains the key may be able to use your account or consume its quota.
Use separate keys for development and production where supported. Restrict permissions if the provider offers that option, rotate exposed credentials promptly, and monitor usage for unexpected activity.
2. Select the Model and Submit a Request
Choose the exact Pro or Max model identifier shown in the current API documentation. The following is an illustrative pattern only: replace the endpoint, model name, authentication header, and request body with the provider’s documented values.
curl -X POST "$FLUX_API_ENDPOINT" \
  -H "Authorization: Bearer $FLUX_API_KEY" \
  -H "Content-Type: application/json" \
  -d '{
    "model": "DOCUMENTED_MODEL_ID",
    "prompt": "Create a clean product image on a warm neutral background."
  }'
Some APIs return an image URL immediately; others return a job identifier that your application must poll or retrieve later. Check the response schema and handle errors, timeouts, rate limits, and retries without exposing credentials in logs.
3. Validate and Store the Result
After receiving a response, verify that the image was generated successfully and meets your output requirements. If the provider returns a temporary URL, download or transfer the asset to storage you control before the link expires. Keep track of the model, prompt, settings, and request identifier when your privacy and retention policies allow it.
Choosing an API Provider
Model quality is only one part of a reliable integration. Review documentation, uptime and concurrency limits, support channels, data handling, and the provider’s current billing terms. If you are comparing API costs across providers, this guide to Gemini 3.1 Pro API Pricing Explained: How to Leverage Advanced API Without Breaking the Bank on Kie.ai illustrates why it is important to examine the pricing model and usage assumptions, not just a headline rate.
FluxAPI.ai has been presented as an access point for Flux models, with Pro and Max options. Before building around any third-party service, verify that it currently offers the model and features you need, and check its endpoint documentation, security practices, service limits, and pricing directly. Provider-specific capabilities can change.
Conclusion
Flux Kontext Pro is a strong place to start when your priority is scalable, everyday image generation and editing. Flux Kontext Max is worth testing when complex instructions or high-stakes creative work justify evaluating a more capable tier. Neither model is automatically the best choice for every prompt, and prices or API details should be confirmed with the provider before deployment.
Run a controlled comparison, measure the cost per approved image, and keep your API key on the server. With those safeguards in place, you can choose a model based on real project results rather than assumptions—and switch between Pro and Max as your workload demands.