Boost Raspberry Pi 5 Speed with SSD Storage
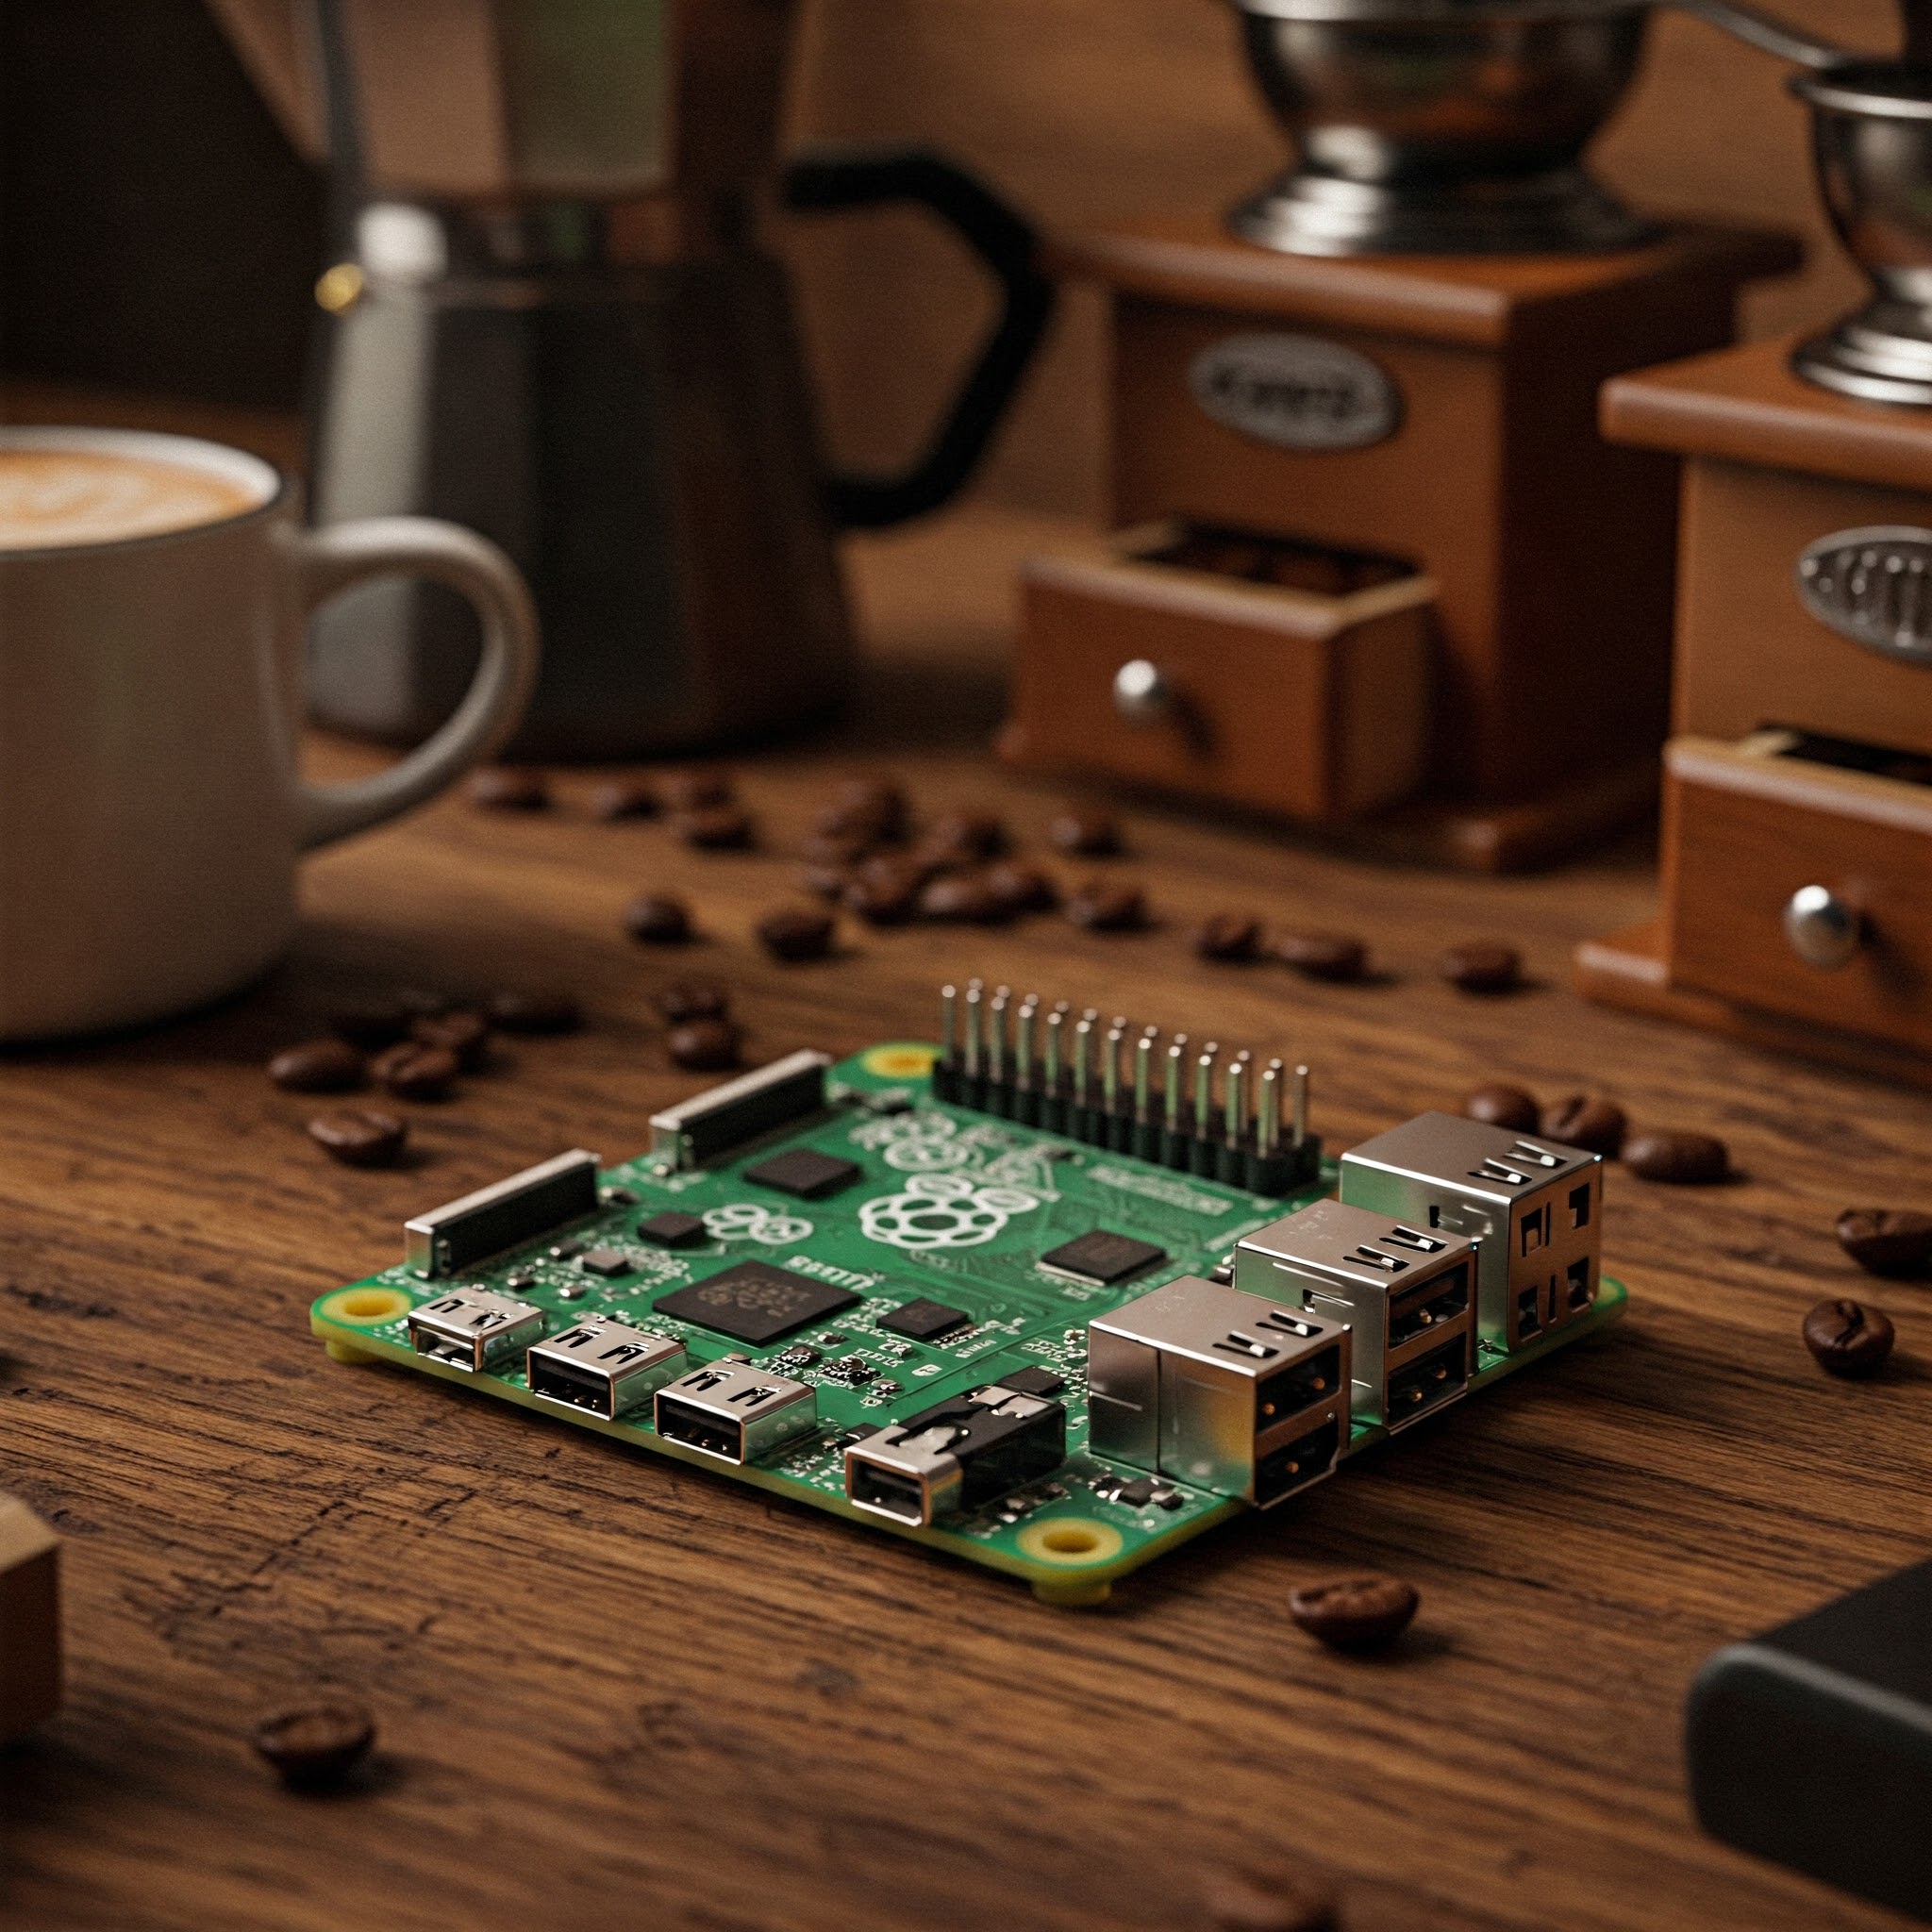
The Raspberry Pi 5 is a powerful single-board computer that brings many improvements, including enhanced USB 3.0 support and greater processing power. One of the best ways to leverage this power is by connecting a Solid State Drive (SSD) for faster and more reliable storage compared to conventional microSD cards.
This guide will walk you through how to connect and use an SSD with your Raspberry Pi 5, helping you unlock quicker boot times, faster file transfers, and improved system responsiveness. Whether you’re a beginner or a seasoned Raspberry Pi enthusiast, this article provides a clear, detailed approach to boost your Pi’s storage performance.
Materials and Tools Needed
| Item | Description | Recommended Specs |
|---|---|---|
| Raspberry Pi 5 | Single-board computer with USB 3.0 support | Latest Raspberry Pi OS installed |
| SSD (Solid State Drive) | External storage device for faster access | Any SATA SSD, 120GB or higher preferred |
| USB 3.0 to SATA Adapter | Converter cable or enclosure to connect SSD | UASP compatible for best speeds |
| Power Supply | Stable power source for Raspberry Pi and SSD | 5V/3A Official Raspberry Pi power supply or better |
| microSD Card | Used for initial OS installation and setup | 16GB or larger, Class 10 or better |
| Keyboard, Mouse, display | For initial setup and configuration | Any Raspberry Pi-compatible peripherals |
Step-by-Step Guide to Connect and Use an SSD with Raspberry Pi 5
Step 1: Prepare Your Raspberry Pi 5
- Ensure your Raspberry Pi 5 is updated with the latest Raspberry Pi OS. You can update it by running:
sudo apt update

sudo apt full-upgrade -y - Reboot your Pi after updating to apply all changes:
sudo reboot
Step 2: Connect Your SSD to the Raspberry pi 5
- Attach your SSD to the USB 3.0 to SATA adapter or enclosure.
- Plug the USB end of the adapter into one of the Raspberry Pi 5’s blue USB 3.0 ports for maximum speed.
- Power on your Raspberry Pi 5 and wait for it to boot.
Step 3: Verify SSD Detection
- Open a terminal and check if the SSD is recognized by running:
lsblkLook for a device named similar to
/dev/sdawith your SSD’s capacity. - If detected, your SSD is ready for use. If not, double-check your connections and adapter compatibility.
Step 4: Format and Mount the SSD
- Format the SSD with a Linux-friendly filesystem (ext4 is typical). Use the following commands (replace
/dev/sdawith your SSD device):sudo mkfs.ext4 /dev/sdaWarning: This command will erase all data on the SSD. Double-check the device name before proceeding.
- Create a mount point directory:
sudo mkdir /mnt/ssd - mount the SSD to this directory:
sudo mount /dev/sda /mnt/ssd - Verify the SSD is mounted by running:
df -hLook for
/mnt/ssdin the output.
Step 5: Configure Automatic Mounting on Boot
- Find the UUID of your SSD partition:
sudo blkid /dev/sda - Edit the
/etc/fstabfile using a text editor:sudo nano /etc/fstab - Add this line at the end (replace
UUID=your-uuidwith the actual UUID found above):UUID=your-uuid /mnt/ssd ext4 defaults,noatime 0 2 - save and exit (Ctrl+X, then Y, then Enter).
- Test the setup by rebooting:
sudo reboot - After reboot, confirm the SSD mounts automatically by running:
df -h
Optional: Boot Raspberry Pi 5 Directly from SSD
For ultimate speed, you can set your Raspberry Pi 5 to boot directly from the SSD rather of the microSD card. This requires backing up your current OS and writing it to the SSD, then updating the bootloader configuration.
- Create a full image of your microSD or perform a fresh install on the SSD using Raspberry Pi Imager.
- Change the boot order in the Raspberry Pi 5’s bootloader settings to prioritize USB boot.
- More detailed instructions are available on the official Raspberry Pi documentation site.
Benefits of Using an SSD with Raspberry Pi 5
| Benefit | Explanation |
|---|---|
| Much Faster Read/Write Speeds | SSDs provide speeds up to 10x faster than microSD cards, improving data transfer and application load times. |
| Improved Durability | SSDs handle heavy read/write cycles better, extending the life of your storage. |
| Better Reliability | Lower chance of corruption compared to microSD cards, especially important for server or database projects. |
| More Storage Capacity | Large capacity SSDs allow you to run intensive applications and store big files easily. |
Common Troubleshooting Tips
- SSD Not Detected: Try different USB ports or check your USB adapter’s compatibility with UASP.
- Slow Speeds: Ensure your SSD is connected to a USB 3.0 port and that your adapter supports UASP mode.
- Boot Failure: Verify bootloader settings and that the SSD image is correctly written.
- Power Issues: Some SSDs require more power than the Raspberry Pi USB port provides. Use a powered USB hub if needed.
Sample Use Case: Raspberry Pi 5 Media Server
A technology enthusiast enhanced thier Raspberry Pi 5 home media server by connecting a 1TB SSD via a USB 3.0 to SATA adapter. With the SSD,video streaming became seamless with zero buffering,and large media libraries loaded instantly. The SSD’s reliability also reduced file corruption risks compared to using microSD storage, allowing for uninterrupted 24/7 operation.
This setup also simplified backups — by mounting the SSD network-wide, family members could easily access shared files with high speed.
Conclusion
Connecting and using an SSD with your Raspberry Pi 5 is an excellent way to drastically improve storage speed and reliability. With USB 3.0 support on the Pi 5, it’s simpler than ever to get blazing-fast performance for various applications, from media serving to growth and beyond.
Follow this guide step-by-step to set up your SSD correctly, unlock faster boot times, and enjoy a more responsive Raspberry Pi experience.whether upgrading an existing project or starting fresh, an SSD is a smart investment for any Raspberry Pi enthusiast looking for top-tier performance.