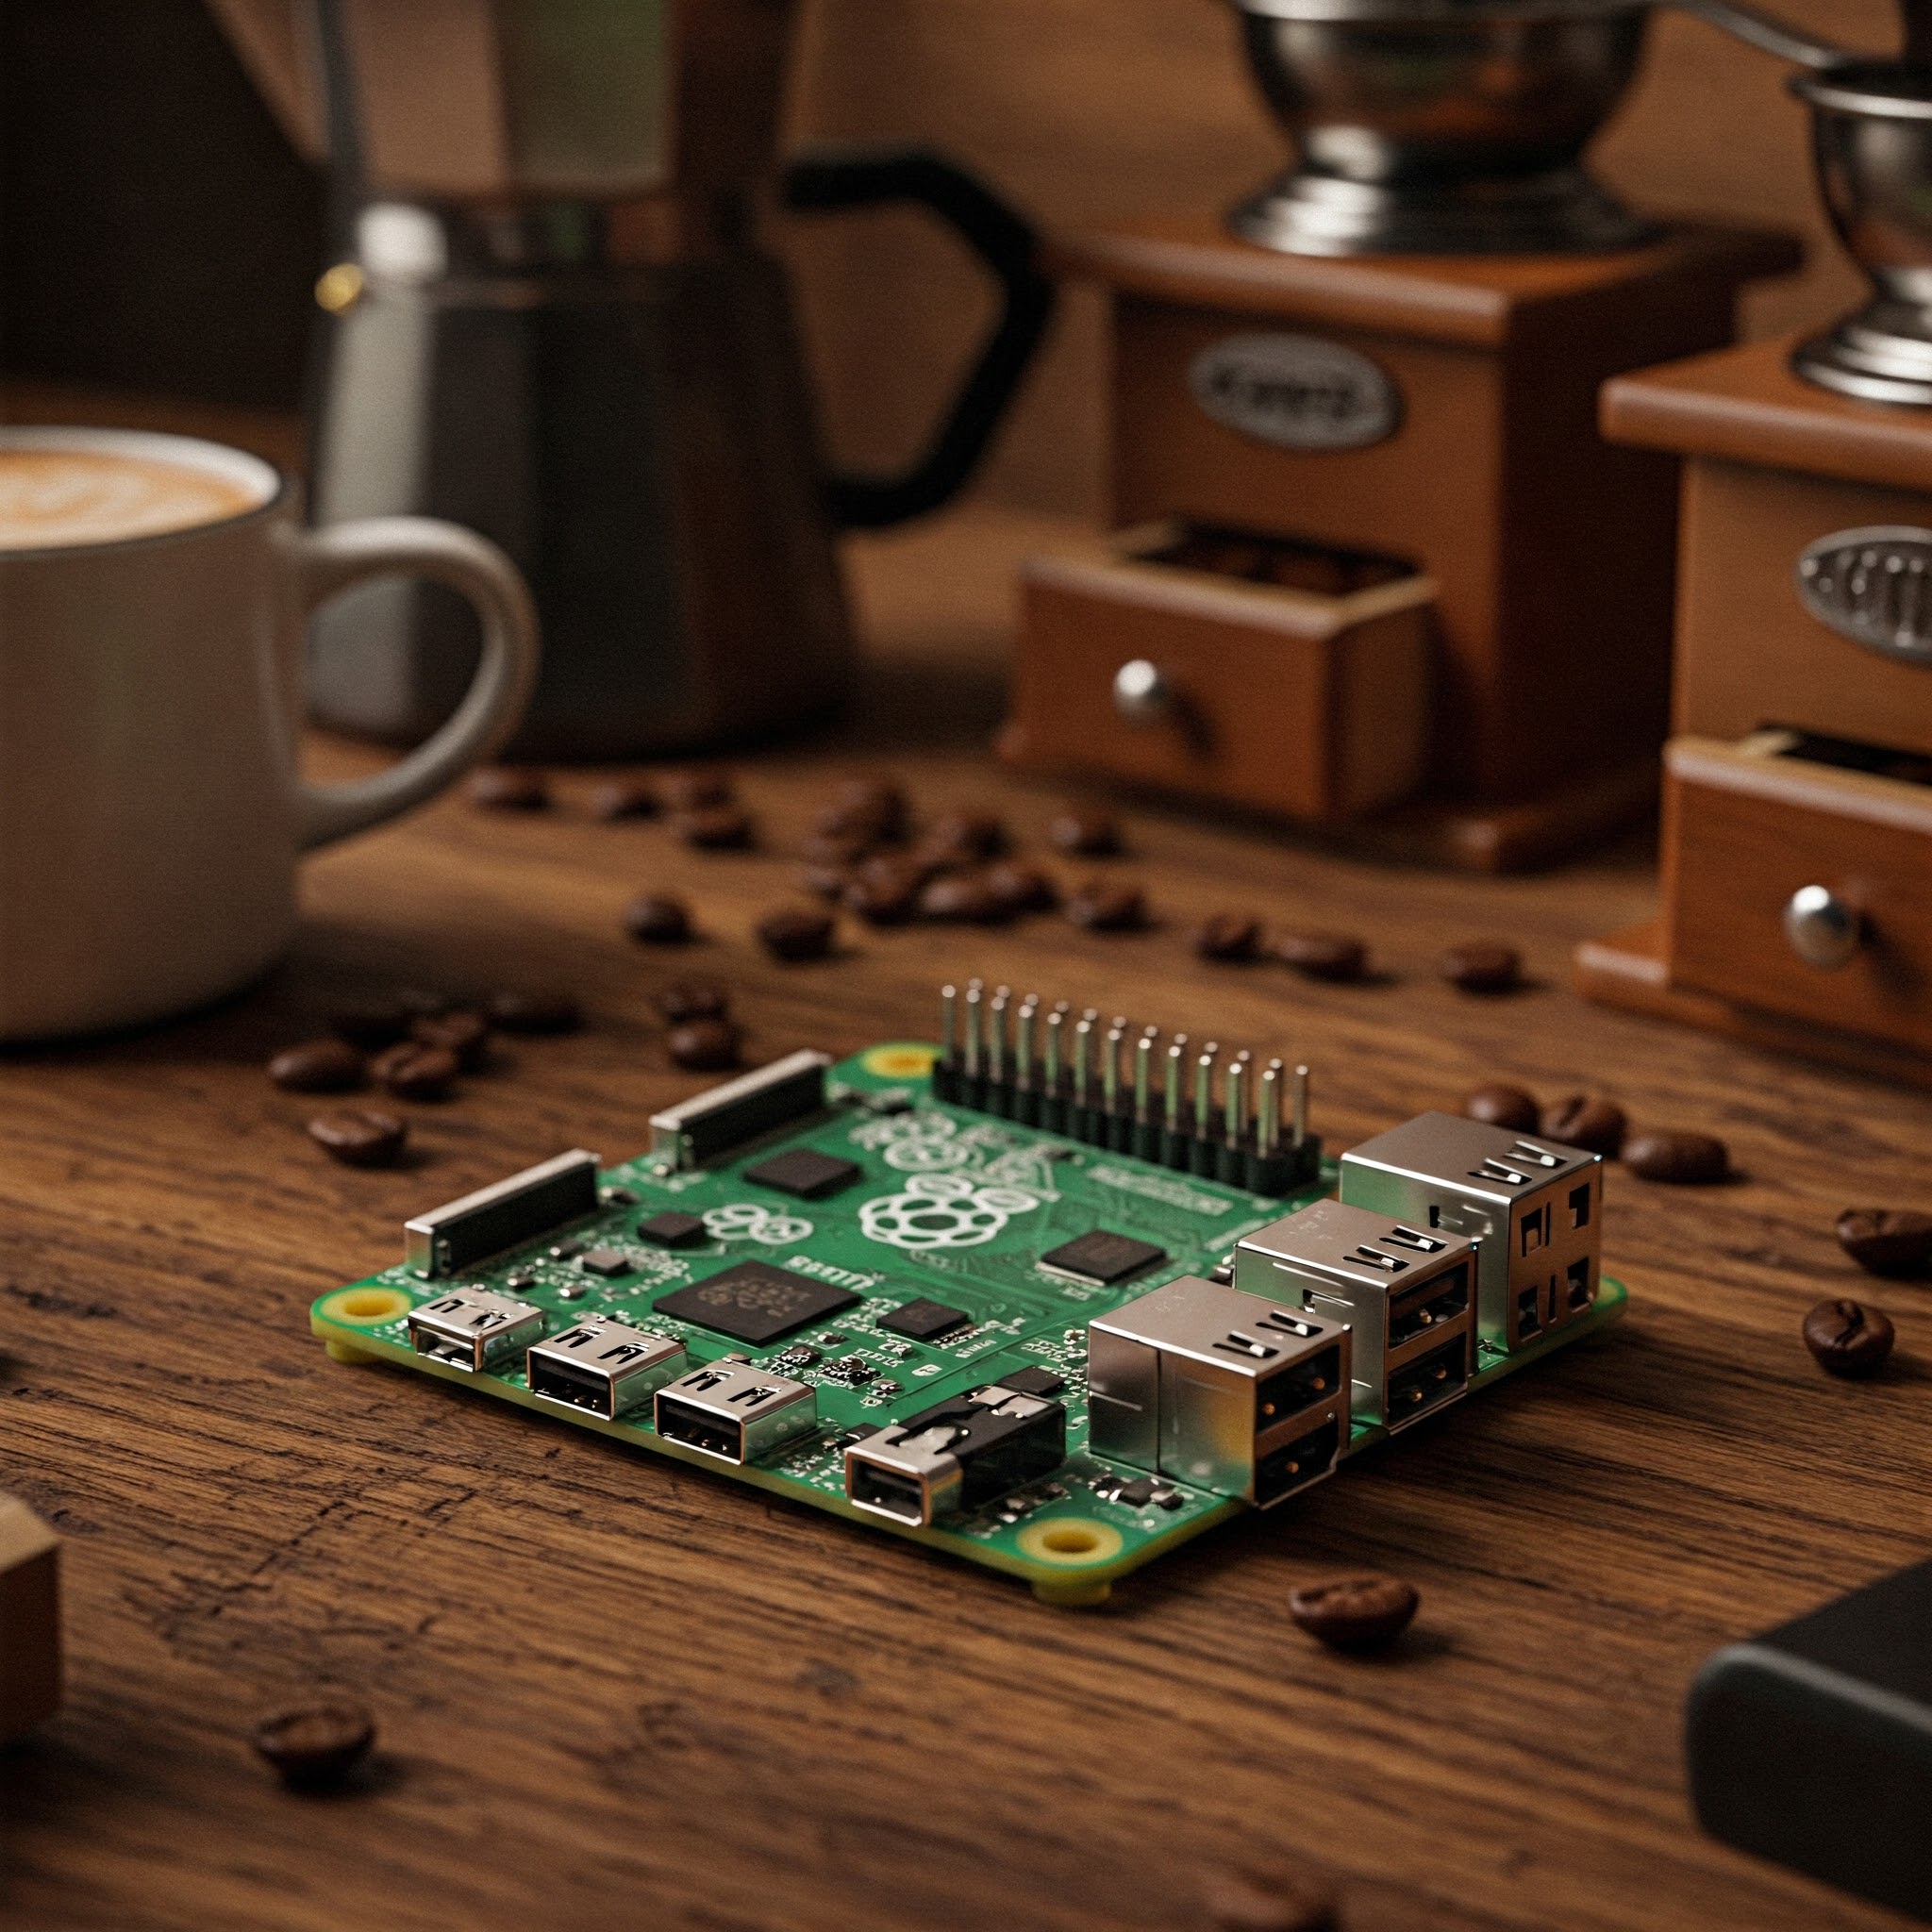
Frame Perfect: Transform Your Raspberry Pi into a Stunning Digital Photo Frame with Touchscreen
Transform your Raspberry Pi into a stunning digital photo frame with a responsive touchscreen! This DIY project is perfect for tech enthusiasts and beginners alike, combining simple hardware setup with custom software to display your favorite photos elegantly. Whether you want a dynamic slideshow for your living room or a smart photo display for your desk, follow this step-by-step guide to bring your digital photo frame to life.
Materials and Tools Needed
| Item | Description | Approximate Cost |
|---|---|---|
| Raspberry Pi 4 Model B | Powerful and compact single-board computer | $35 – $55 |
| 7-10 inch Raspberry Pi Touchscreen Display | Official or compatible touchscreen display | $60 – $100 |
| microsd Card (32GB or higher) | Storage for Raspberry Pi OS and photos | $10 - $20 |
| Power Supply (5V 3A USB-C) | Reliable power source for Pi and touchscreen | $10 – $15 |
| Raspberry Pi Case with Stand | protective case adapted for touchscreen mounting | $15 – $25 |
| HDMI Cable (optional) | For connecting external displays or troubleshooting | $5 – $10 |
| Wi-Fi Connection | internet access to download software and sync photos | Free |
Step-by-Step Guide to Building Your Digital Photo frame
1. Set Up Your Raspberry Pi
- Download the latest Raspberry Pi OS from the official website.
- Use software like Balena Etcher to flash the Raspberry Pi OS image onto your microSD card.
- Insert the microSD card into your Raspberry Pi, connect the touchscreen display, and power it on.
- Follow the initial setup wizard to configure language, timezone, Wi-Fi, and update the system.
2. Configure the Touchscreen Display
- Ensure the touchscreen drivers are installed. For official Raspberry Pi displays, drivers are pre-installed in Raspberry Pi OS.
- calibrate the touchscreen if necessary by installing tools like
xinput-calibrator. - Adjust screen orientation via configuration files if your display will be mounted vertically.
3. Install Photo Frame Software
- Open the terminal and install the feh image viewer, ideal for slideshows:
sudo apt-get install feh - Create a directory for your photos:
mkdir ~/Pictures/digitalframe - Transfer your photos via SFTP, USB, or download from cloud storage directly onto the Pi into the newly created folder.
- test a slideshow with:
feh --fullscreen --slideshow-delay 10 ~/Pictures/DigitalFrame This command runs a fullscreen slideshow cycling every 10 seconds.
4. Automate Slideshow on Boot
- Create a simple script to launch the slideshow. Use a text editor:
nano ~/start_slideshow.sh - Insert the following:
#!/bin/bash

feh --fullscreen --slideshow-delay 10 /home/pi/Pictures/DigitalFrame - Make the script executable:
chmod +x ~/start_slideshow.sh - Edit the autostart file:
nano ~/.config/lxsession/LXDE-pi/autostart - Add this line at the end:
@/home/pi/start_slideshow.sh
5. Final Assembly and Mounting
- Place your Raspberry Pi inside the case and securely attach the touchscreen.
- Position and mount your digital photo frame where desired—on a desk, wall mount, or shelf.
- Power on and enjoy your personalized photo slideshow!
- Tip: Use high-resolution JPEG images for best display quality.
- Warning: Make sure the raspberry Pi and screen have adequate ventilation to avoid overheating.
- Optional: Customize the slideshow delay or add transitions by exploring
fehoptions or alternative software likepi3dorfbi.
Benefits of a Raspberry Pi Digital Photo Frame
Creating a digital photo frame using a Raspberry Pi and touchscreen offers numerous advantages:
- Customization: Control display settings, photo sources, and user interaction.
- Cost-effective: Reuse existing hardware or buy affordable components.
- Connectivity: Synchronize photos from cloud services or local storage easily.
- Interactive Features: Use touch input to switch albums or pause slideshows.
- Expandable: Add sensors, clocks, or weather widgets to the display.
Common Troubleshooting Tips
| Issue | Possible Solution |
|---|---|
| Touchscreen not responding | Verify connections; recalibrate touchscreen using xinput-calibrator. |
| Slideshow flickers or freezes | Check photo file formats; reduce image file size or resolution. |
| slideshow does not start on boot | Confirm script permissions; verify autostart file path and syntax. |
| Raspberry Pi overheats | Add cooling fan or heat sinks; improve case ventilation. |
Sample Use Case: Family Memory Display
One user built a digital photo frame with a 7-inch touchscreen to showcase rotating family photos in their living room. They automated photo updates via Dropbox sync scripts, ensuring new pictures from family events appeared immediately. The touchscreen allowed guests to manually select favorite albums, making it an interactive conversation piece. Besides providing nostalgia, it also helped relatives who live far away feel connected through frequent photo updates.
Another enthusiast customized the frame with a weather widget overlay and digital clock, transforming the photo frame into a multifunctional smart display.
