

Build a Touchscreen Raspberry Pi Photo Frame That Runs All Day
A Raspberry Pi and a touchscreen can turn a folder of favorite pictures into a compact, interactive digital photo frame. The setup is affordable, easy to customize, and useful well beyond a slideshow: you can add a clock, weather information, or separate albums for family and holidays. This guide covers compatible hardware, setup, slideshow automation, practical troubleshooting, and what to expect from a single-board computer’s performance.
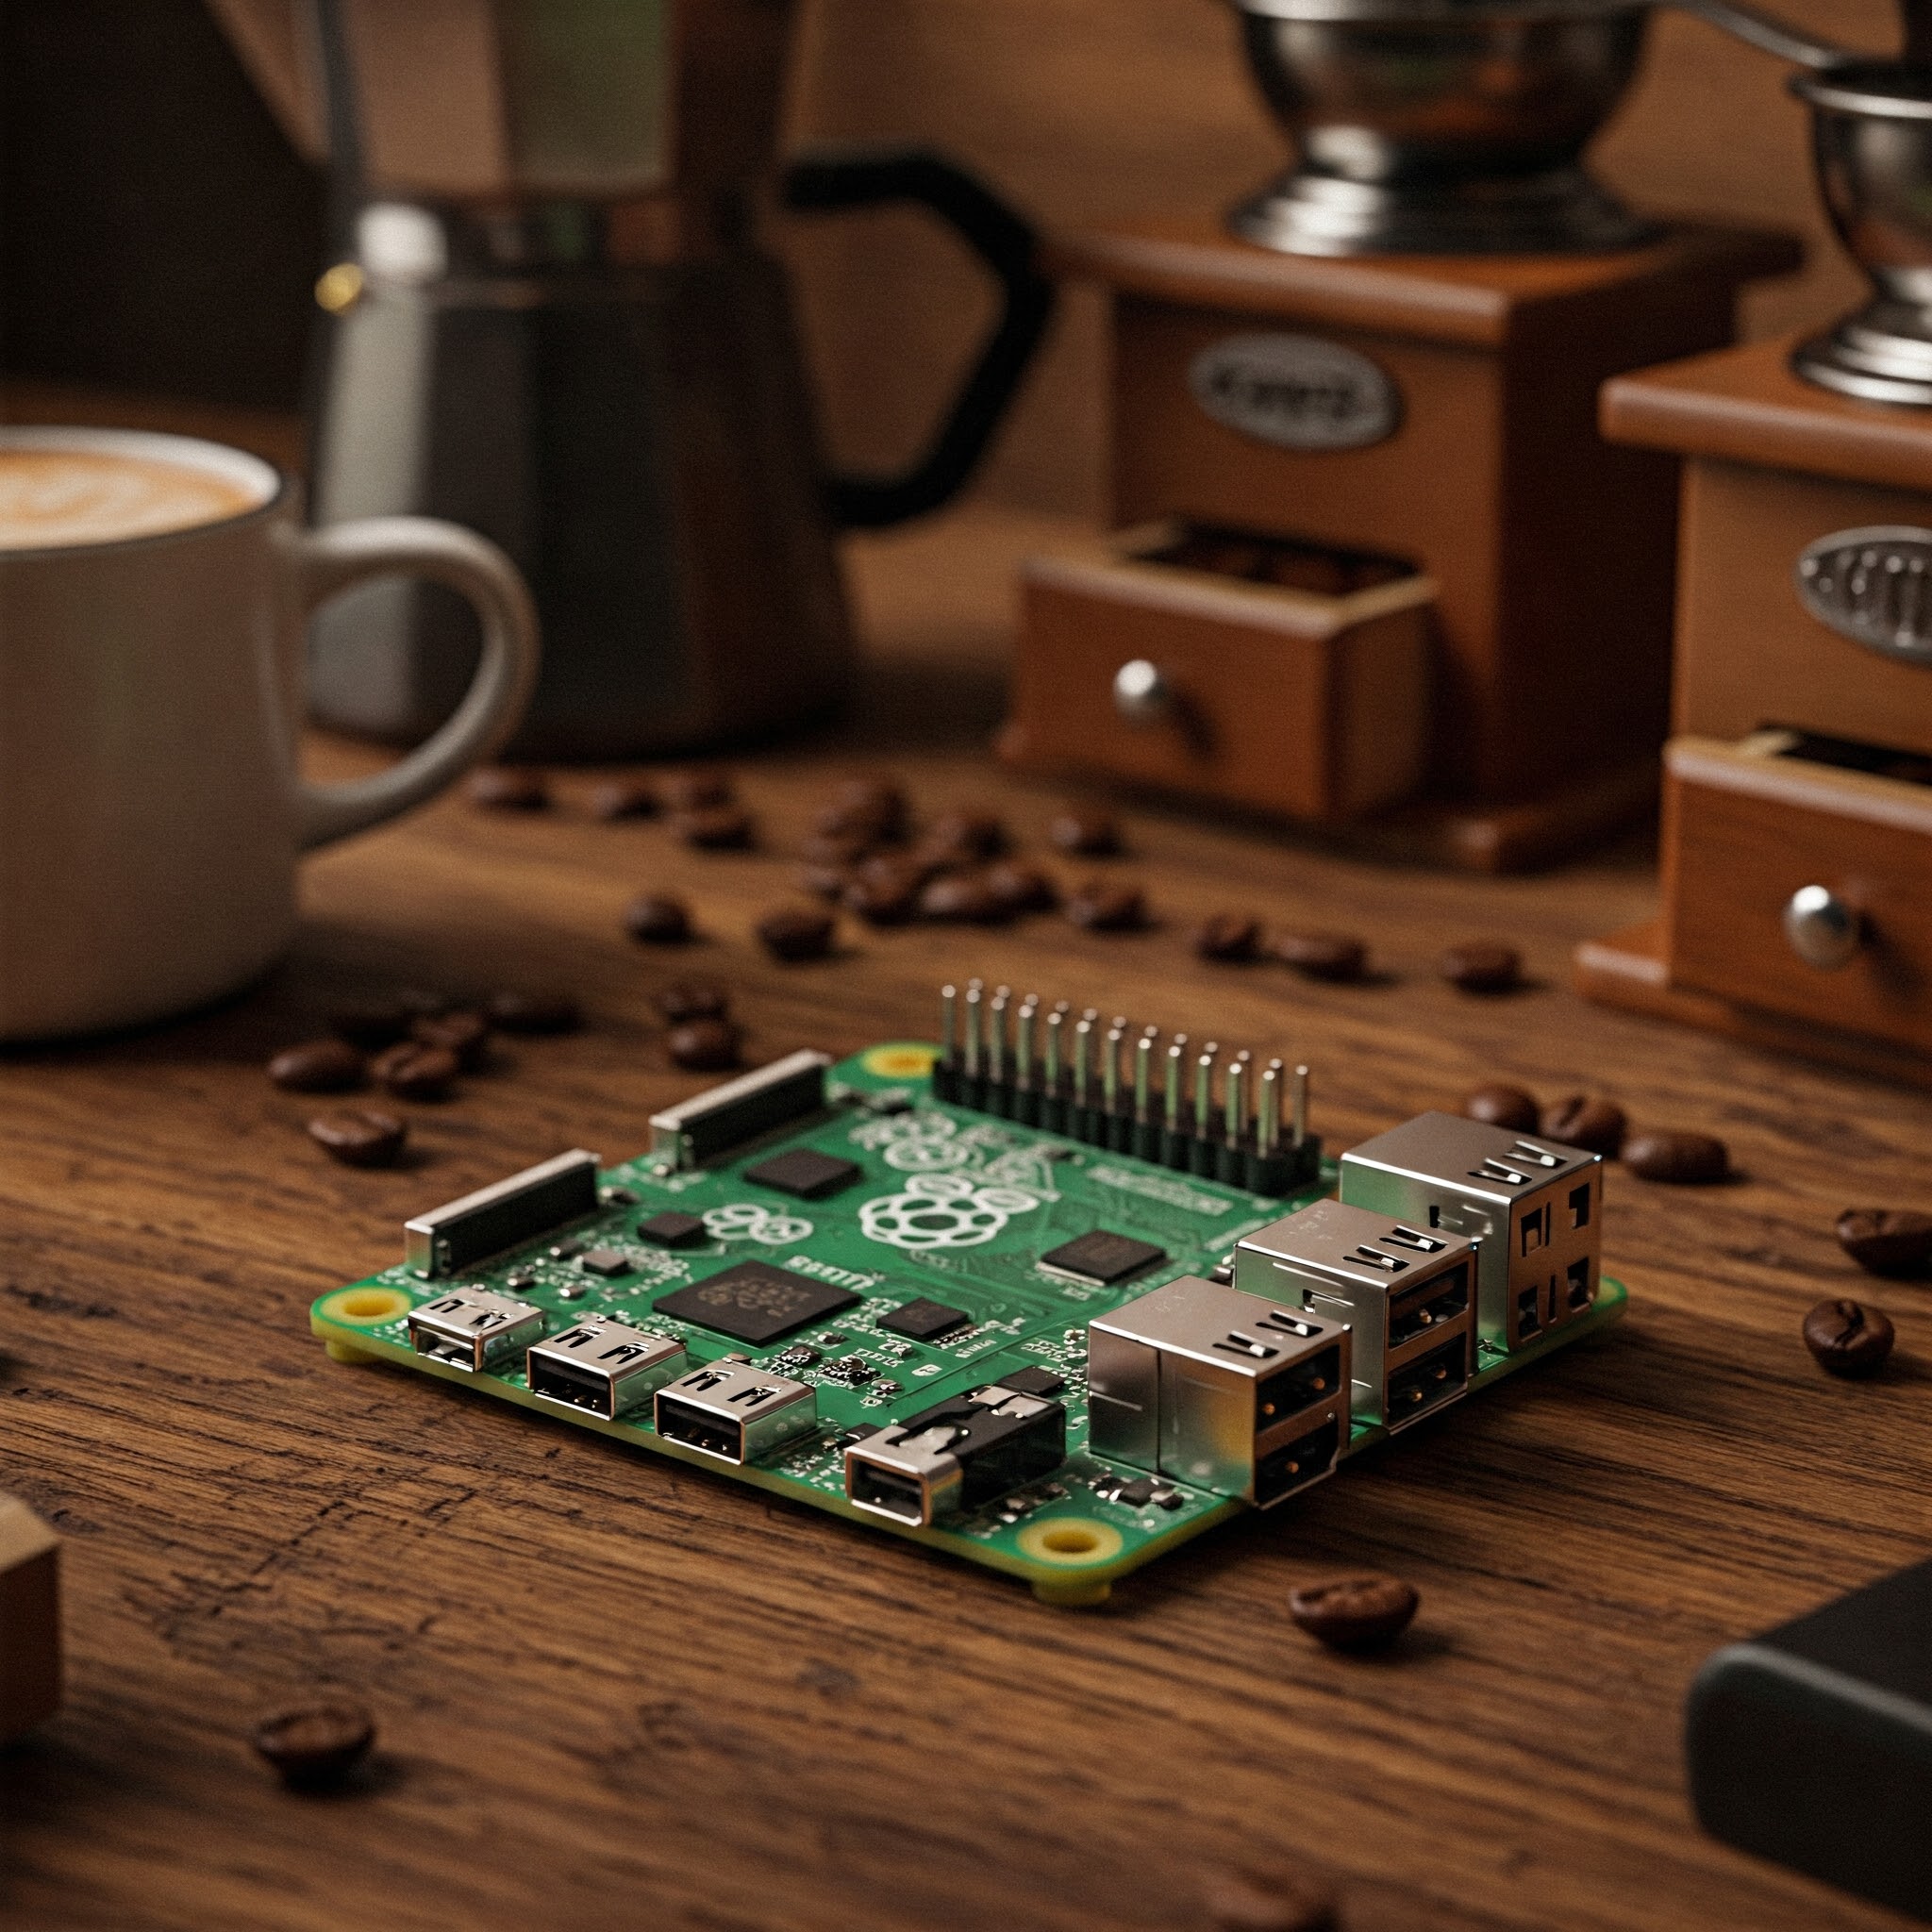

What You’ll Need for a Raspberry Pi Digital Photo Frame
A Raspberry Pi 4 Model B is more than fast enough for displaying still photos. A compatible touchscreen simplifies the build, while a reliable power supply and well-ventilated case help the frame run consistently. Prices vary by retailer, screen size, and availability, so treat these estimates as a planning guide rather than current quotes.
| Item | Description | Estimated cost |
|---|---|---|
| Raspberry Pi 4 Model B | Compact single-board computer; RAM options and prices vary | $35–$55 |
| 7–10-inch touchscreen | Official or compatible display; check connector and mounting compatibility | $60–$100 |
| microSD card, 32 GB or larger | Operating system, applications, and local photo storage | $10–$20 |
| Power supply | Use a supply recommended for your specific Pi model and display | $10–$15 |
| Case with stand or mount | Protects the board and supports your chosen screen | $15–$25 |
| HDMI cable | Optional; useful with an external display for setup or troubleshooting | $5–$10 |
| Wi-Fi connection | Useful for updates and transferring or synchronizing photos | Varies |
How to Build and Configure the Touchscreen Photo Frame
1. Install Raspberry Pi OS
- Download Raspberry Pi Imager from the official Raspberry Pi software page. Choose an operating system compatible with your board and intended desktop setup.
- Use Raspberry Pi Imager to write the operating system to the microSD card. If offered, set your Wi-Fi and account details before writing the card.
- Insert the card, connect the display according to its instructions, and power on the Pi.
- Complete first-run setup, including network, language, and system updates.
2. Check the Touchscreen and Display Orientation
Many displays work without extra drivers, but compatibility depends on the screen and operating system. Confirm the manufacturer’s setup instructions and test touch input before mounting everything. If the picture is rotated, use the display settings available in your desktop environment or the screen vendor’s documentation. Calibration tools may be needed for some older or specialist setups; don’t assume xinput-calibrator is installed or supported by every current desktop session.
3. Install a Lightweight Slideshow Viewer
For a simple slideshow on a desktop session where feh is available, install it and create a folder for your pictures:
sudo apt update
sudo apt install feh
mkdir -p ~/Pictures/digitalframe
Copy images into that folder using a USB drive, SFTP, or a synchronization tool. Then test a fullscreen slideshow that changes photos every 10 seconds:
feh --fullscreen --slideshow-delay 10 ~/Pictures/digitalframeMake sure the folder path and capitalization match exactly. Linux treats digitalframe and DigitalFrame as different names. For a build using a newer desktop or display manager, verify that your chosen viewer works in that graphical session before setting it to launch automatically.
4. Start the Slideshow Automatically
A dependable autostart method varies with the Raspberry Pi OS release and desktop environment. First confirm that the slideshow launches correctly from the desktop. Then use the session’s supported autostart settings or a user-level systemd service, rather than relying on an older LXDE file path that may not exist on your installation.
For a simple script, save the following as ~/start_slideshow.sh and change the directory if needed:
#!/bin/bash
feh --fullscreen --slideshow-delay 10 /home/pi/Pictures/digitalframe
Use the actual home-directory path for your account; it may not be /home/pi. Make the script executable:
chmod +x ~/start_slideshow.shConfigure the script to run when your graphical desktop starts, then restart the Pi to test the complete boot sequence.
5. Assemble and Mount the Frame
- Secure the Pi and touchscreen in a compatible case or frame.
- Choose a desk, shelf, or wall position with access to power and room for ventilation.
- Start the Pi and check that the screen, touch input, and slideshow all work before closing the case.
- Photo tip: Use clear JPEG images sized sensibly for the display. Very large files can take longer to load.
- Cooling tip: Keep vents unobstructed. If the Pi runs hot under sustained load, review How To Cool Down Raspberry PI.
- Customization: Explore your viewer’s options for slideshow timing, ordering, and scaling. You can also add a clock or weather panel.
Raspberry Pi Performance: Is It Fast Enough?
A photo frame is a light workload: the Pi needs to load images, display them, and keep the graphical session responsive. A Raspberry Pi 4 is generally capable of this task, and a newer board can offer more headroom, but results depend on the exact model, memory configuration, operating system, display resolution, and software. Benchmark figures are not a reliable substitute for testing your own image set and screen.
For this project, look at practical performance rather than chasing a processor score:
- Slideshow smoothness: Images should appear promptly without stalling between transitions.
- Touch response: Menus and album controls should respond without noticeable delays.
- Thermal behavior: Check temperatures during extended operation, especially in an enclosed case.
- Memory and storage: Keep the system and photo library within the board’s available memory and card capacity.
If you plan to use the Pi for demanding tasks as well, cooling and workload matter more. A photo slideshow does not need cryptocurrency-mining performance; see How to Set Up a Raspberry Pi Crypto Miner for a different, more compute-focused use case. For an external-screen setup, How To Connect Raspberry Pi to a Projector explains another way to use the Pi’s display output.
Benefits of a Touchscreen Raspberry Pi Frame
Building your own frame gives you control over how it looks and what it does. It can be a simple rotating gallery or a small family information display.
- Customizable: Choose albums, display timing, and screen orientation.
- Connected: Add a workflow for syncing new pictures over Wi-Fi.
- Interactive: Use touch input to browse or select albums when your software supports it.
- Expandable: Add a clock, weather information, or other lightweight widgets.
- Reusable: Repurpose an existing Raspberry Pi or touchscreen where compatible.
Troubleshooting Common Problems
| Problem | What to check |
|---|---|
| Touchscreen does not respond | Check power and data connections, display compatibility, and the manufacturer’s setup instructions. |
| Slideshow freezes or flickers | Test with a few supported image files, reduce unusually large images, and check system resources. |
| Slideshow does not start at boot | Confirm the script is executable, paths are correct, and the autostart method matches your desktop environment. |
| Raspberry Pi gets hot | Improve airflow, clear blocked vents, and consider an appropriate heatsink or fan if needed. |
Practical Example: A Shared Family Photo Display
For a living-room frame, create separate folders for family events, trips, and everyday snapshots. Set a comfortable transition interval, mount the touchscreen where it is easy to see, and use a Wi-Fi sync workflow to add new pictures. Touch-friendly album controls can make it easy for visitors to choose what they want to see. A modest clock or weather widget can add useful information without turning the frame into a complicated desktop computer.
Conclusion
A Raspberry Pi touchscreen photo frame is a practical weekend project that combines a useful display with straightforward Linux setup. Choose compatible hardware, test the slideshow before mounting the screen, and configure autostart for the desktop environment you actually use. With sensible photo sizes, reliable power, and good ventilation, the finished frame can deliver a smooth slideshow while leaving room for interactive albums and other lightweight features.